Users Page
The Users page allows BCMS administrators to view and control the list of approved BCMS user accounts. BCMS User and Power User account types are not able to view this page.
As mentioned previously, for BCMS administration purposes the only account type required is the Administrator account. Power and Standard user accounts should only be used by customers with Proton enabled. They are discussed here for the purposes of completeness.
User account requests are made by end users at Manager login screen — see section 4.1.4. Pending requests can be approved by clicking on the pending account name and then selecting the Approve button. Accounts can be promoted to administrator or power user status (or demoted to user status) by clicking on the account name and selecting User, Power User or Administrator.
After the initial installation of BCMS Server, the first account created is automatically promoted to administrator status. Once multiple users have been created you can select that first user account to modify it.
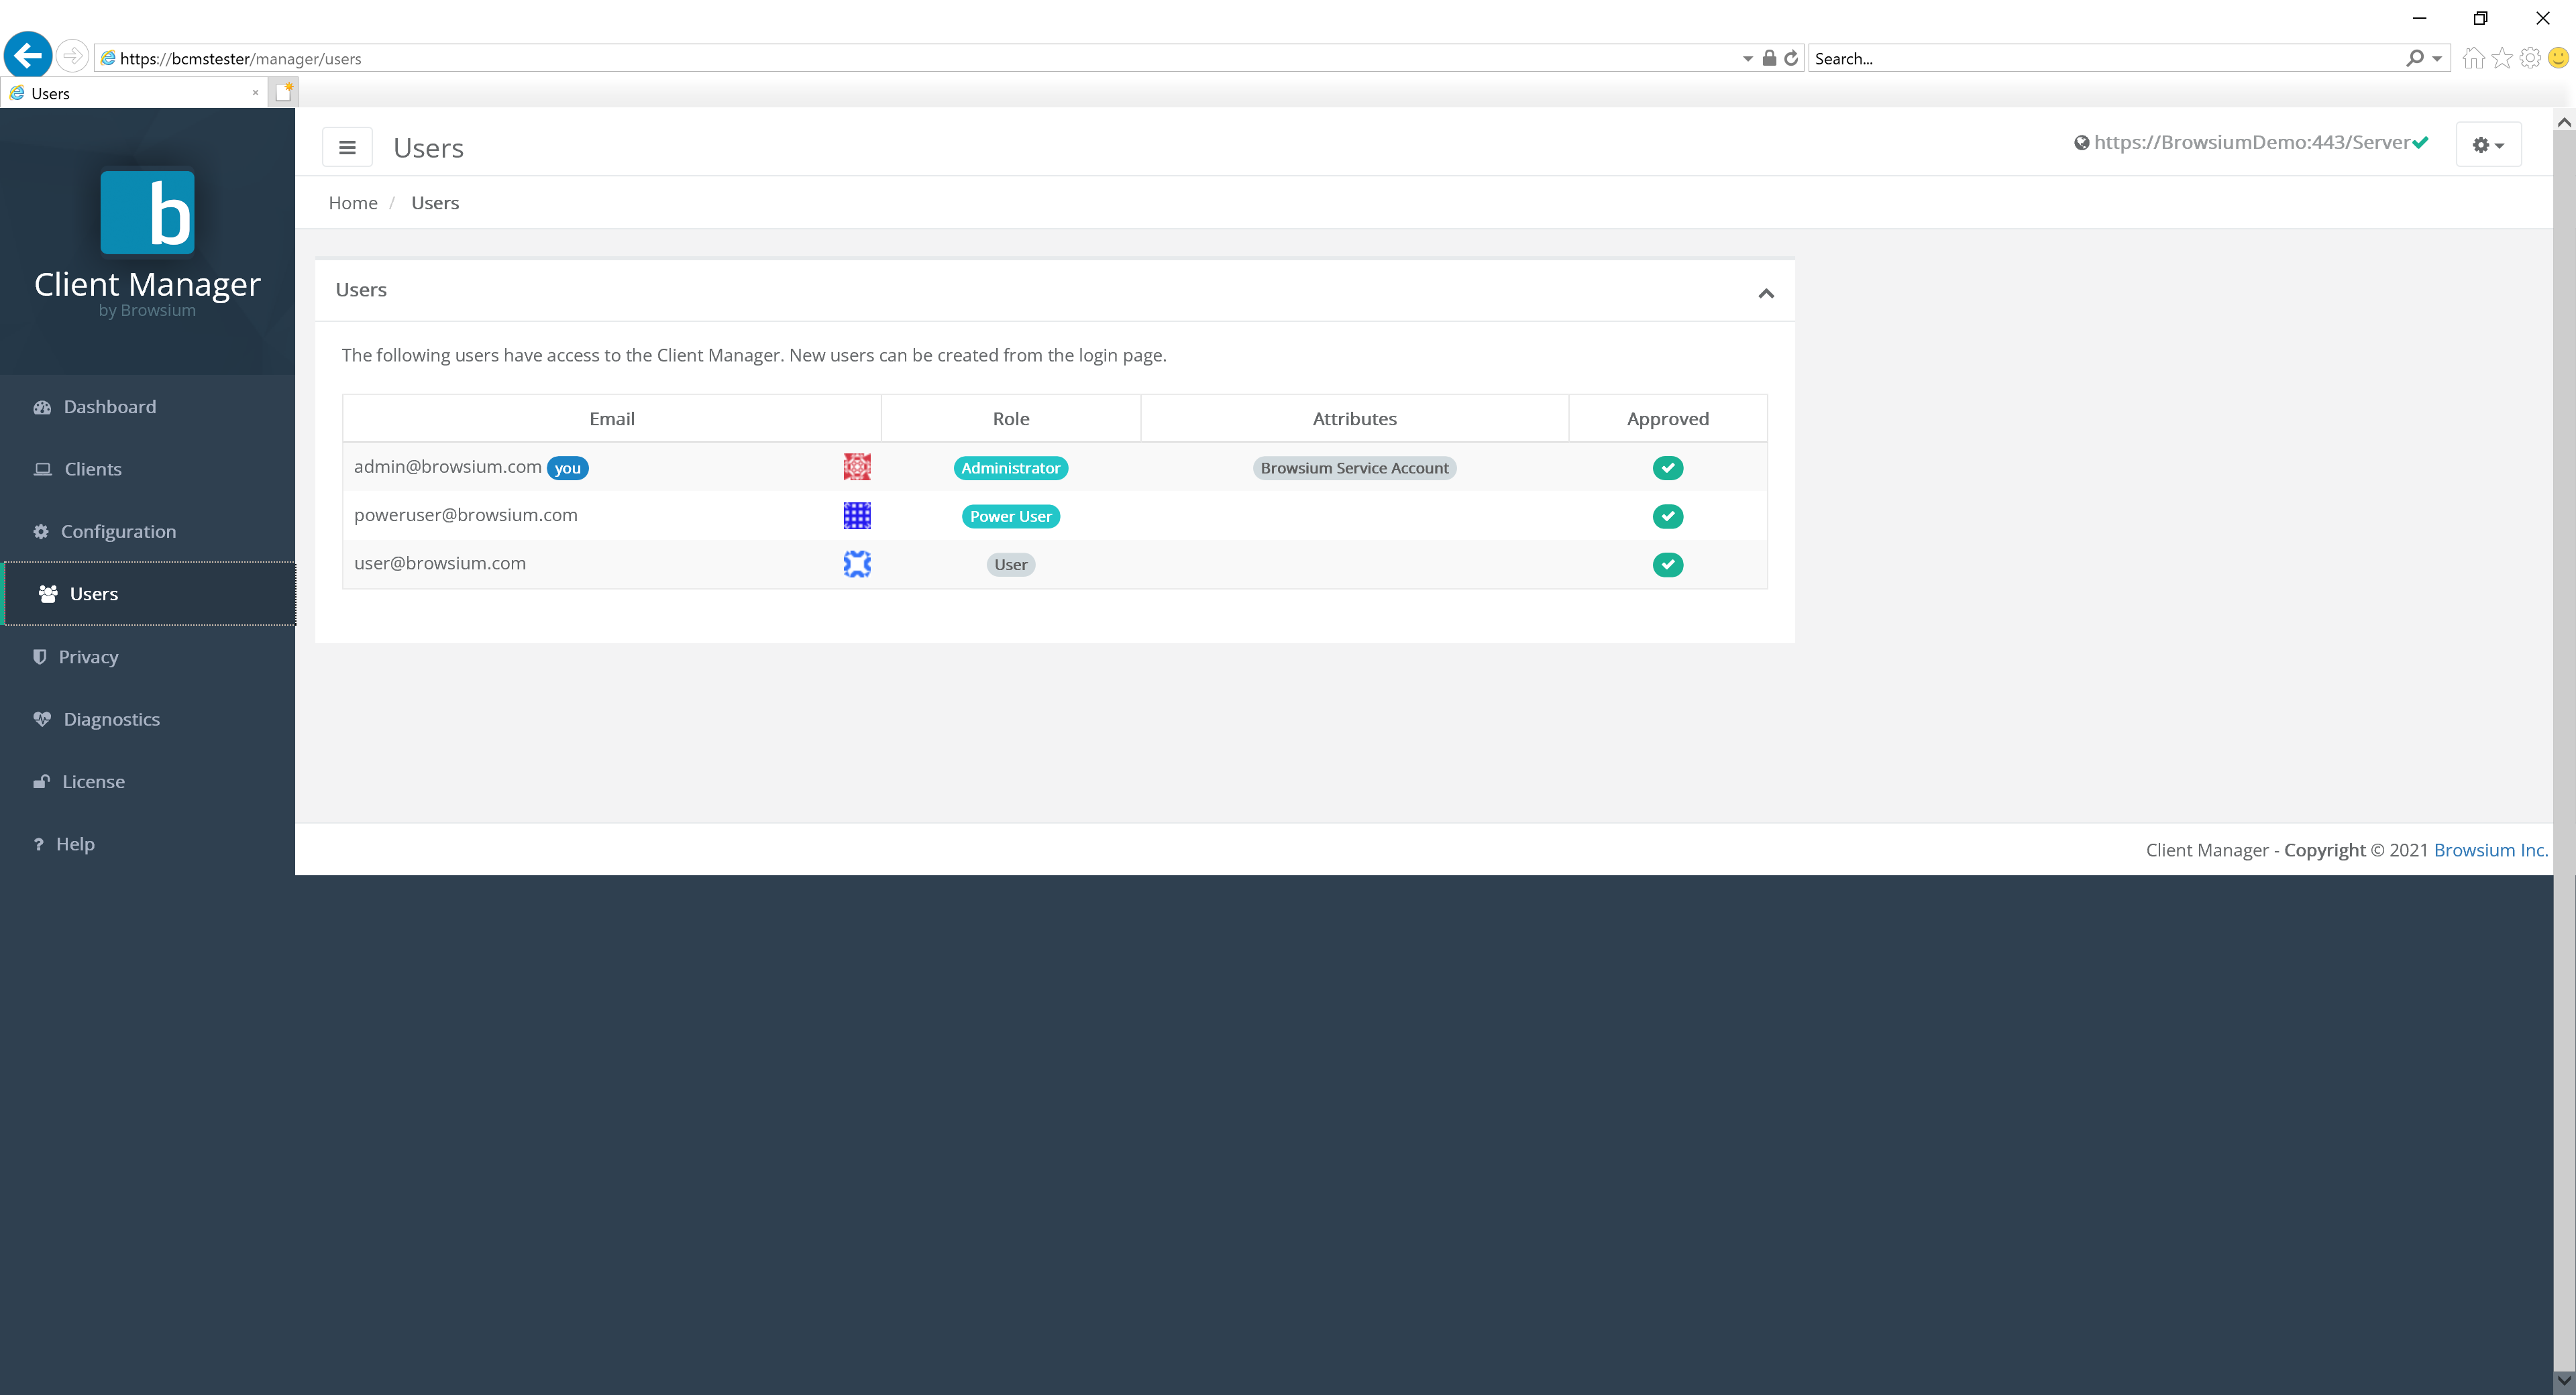
Customers with specific support and management agreements will see accounts marked as ‘Browsium Service Account’. These accounts cannot be deleted by customers. Browsium Service Accounts can only be created and designated by Browsium and is not necessary for all customers. There is nothing wrong if the installation has no Browsium Service Accounts.
User accounts marked as ‘external’ denote the account is authenticated by SSO.
Clicking on a specific user brings up the account details:
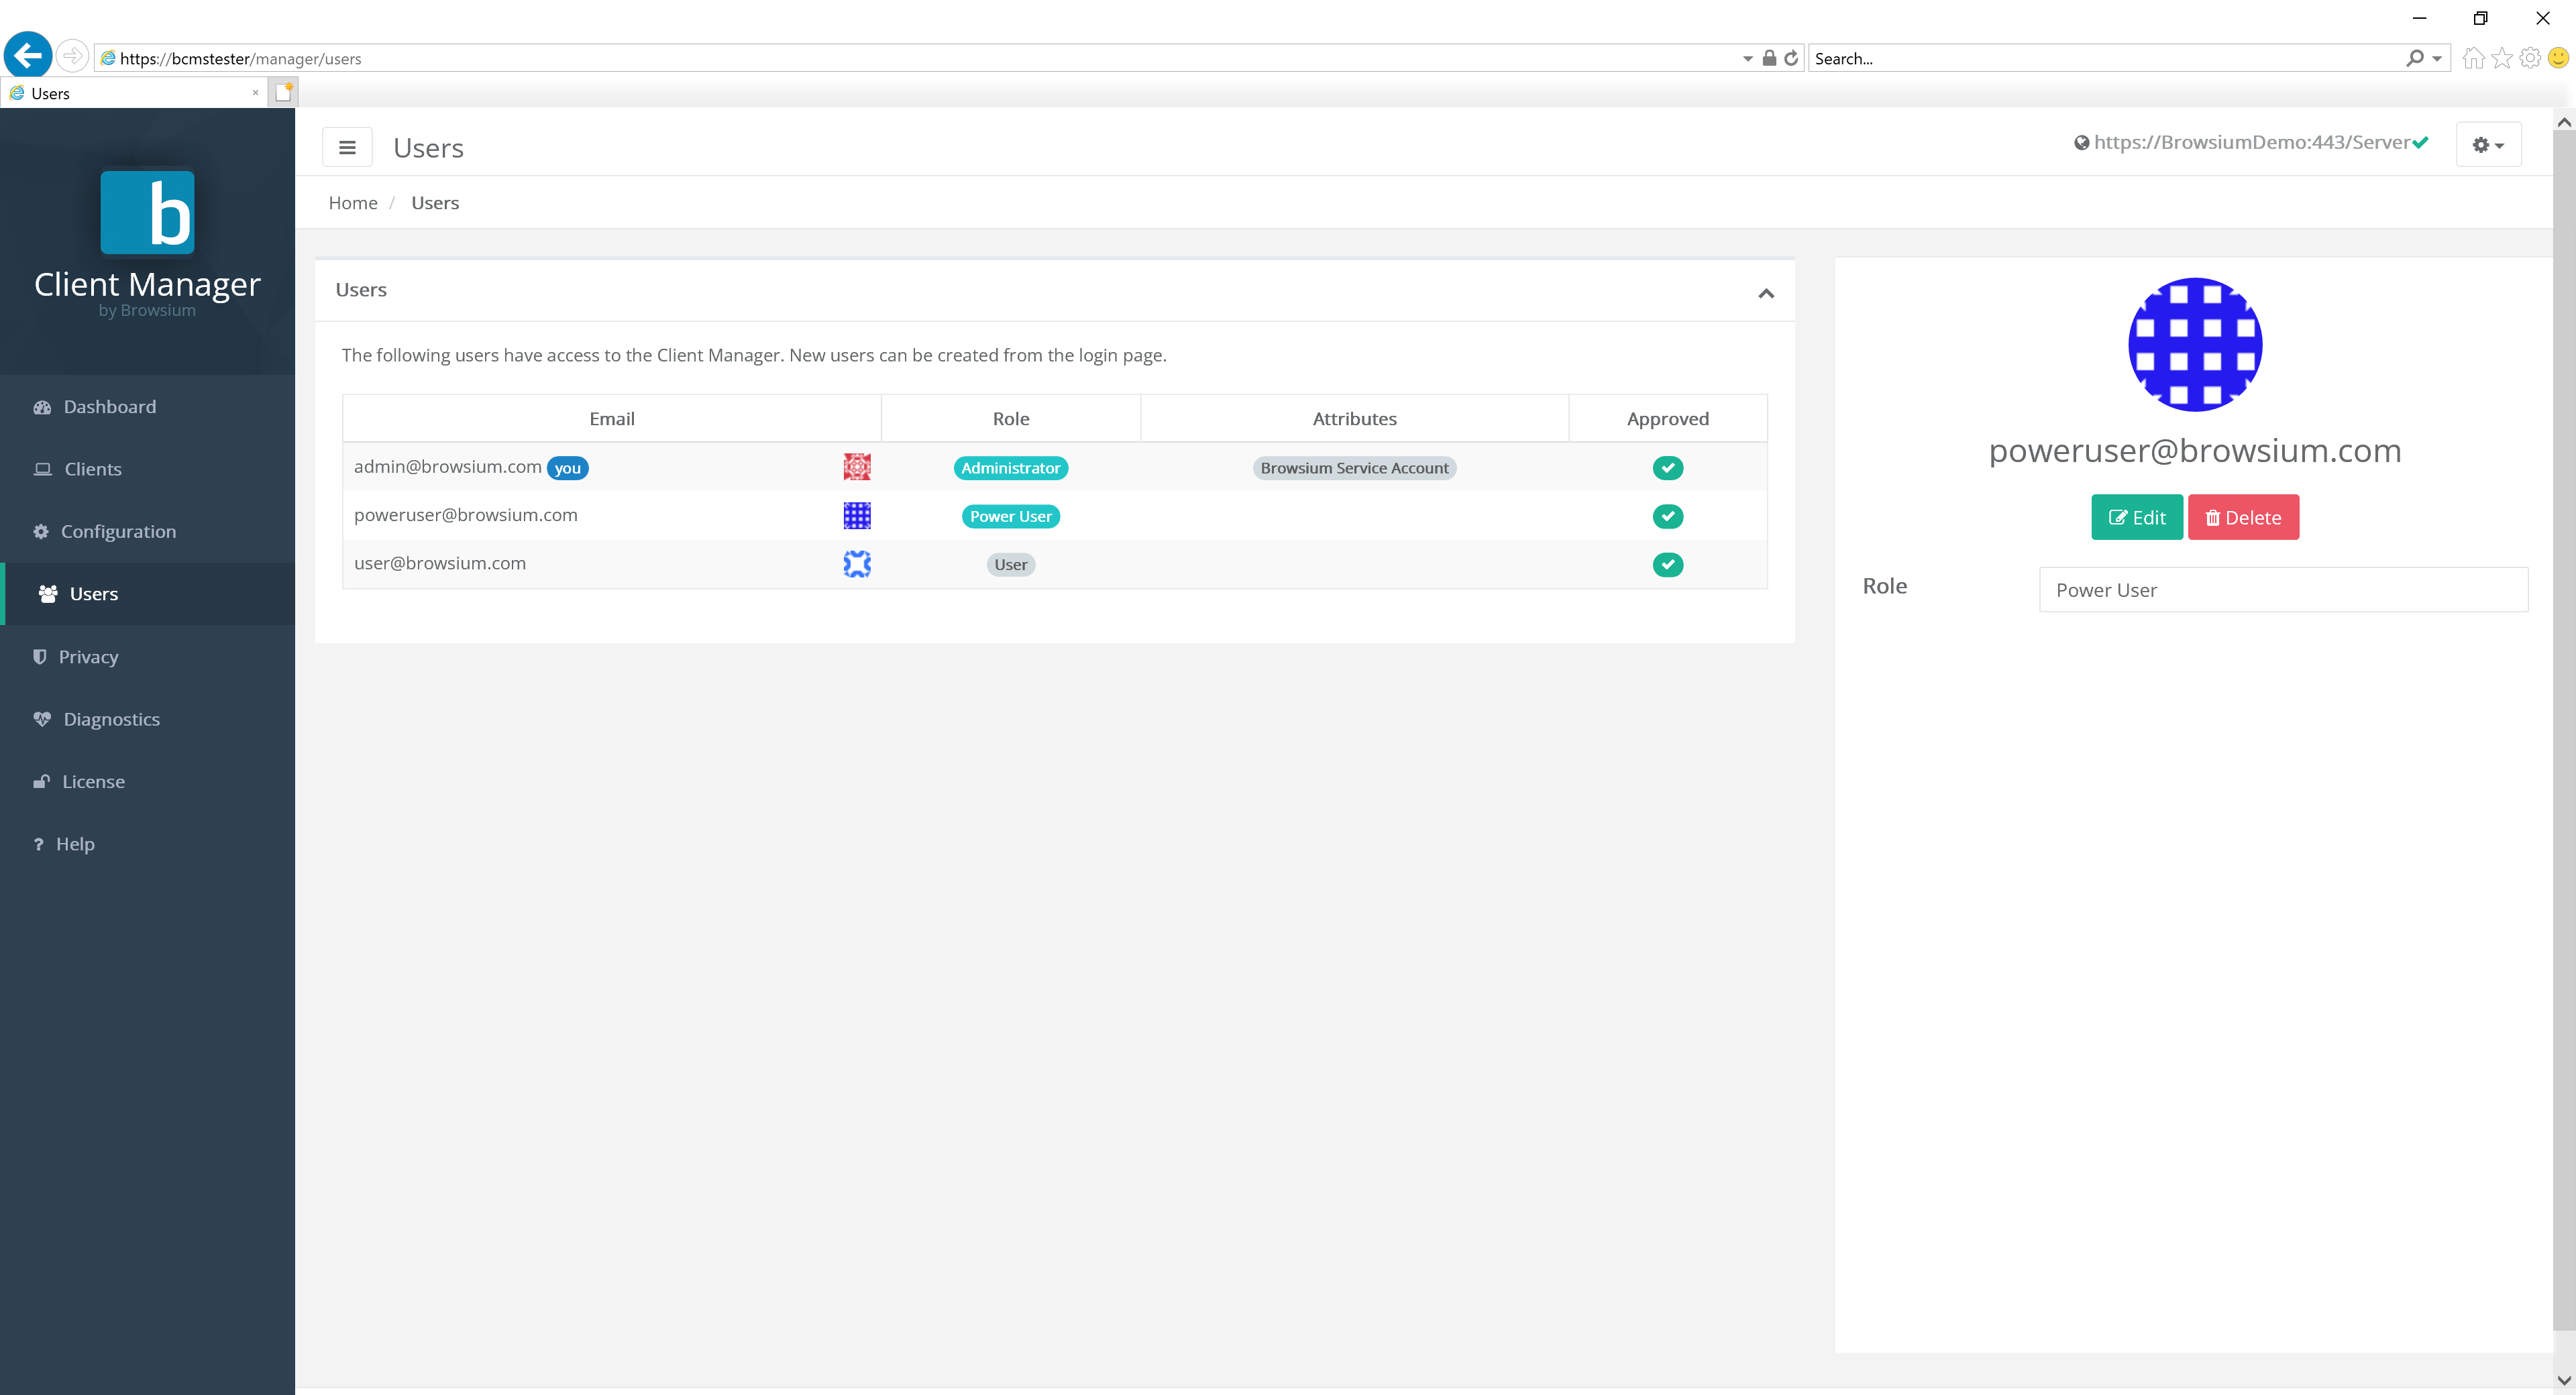
Select Edit to change the user account type.
[]{#_Configuring_Password_Restrictions .anchor}
Password Policy Management
Section titled “Password Policy Management”BCMS has a range of user account password policy management features, some configured by default (which can be modified) and others that are off by default but can be enabled by a BCMS administrator. Password policies can only be configured in the Web.config file on the BCMS server, not in BCMS Manager. More on how to locate and edit the Web.config later in this section.
BCMS provides password and login policies for the following attributes:
Session Timeout — sets the number of minutes until an idle session of BCMS Manager ends and displays the logon screen. The Web.config attribute is timeout, located in the system.web/authentication/forms section. The default value is 2880 minutes (2 days).
Minimum Required Password Length — sets the minimum length of the password The Web.config attribute is minRequiredPasswordLength and the default value is 8 characters.
Minimum Required Non Alpha Numeric Characters — sets the minimum number of special characters that the password must have. The Web.config attribute is minRequiredNonalphanumericCharacters and the default value is 1 character.
Maximum Invalid Password Attempts — sets the maximum number of invalid password entries before the user’s account is locked out. The Web.config attribute is maxInvalidPasswordAttempts and the default value is 1000000 (virtually unlimited).
Password Attempt Window — sets the number of minutes to keep track of invalid password attempts. After the window has expired, the number of invalid password attempts is reset. The Web.config attribute is passwordAttemptWindow and the default value is 1.
Password Expiration — sets the number of days until a new password expires, forcing the user to change the password before logging on. The Web.config attribute is PasswordExpiration and there is no default value for this attribute.
Password Strength Regular Expression — sets a regular expression that every password must match. This can be used to set custom password policies. The Web.config attribute is passwordStrengthRegularExpression and there is no default value for this attribute.
You’ll find a series of regular express examples in the Web.config file. An example using many of the above attributes is:
minRequiredPasswordLength=“12” minRequiredNonalphanumericCharacters=“1” passwordStrengthRegularExpression=”(?=(.*[A-Z]){1,})(?=(.*\d){1,})”
The preceding example sets a password policy requiring that all passwords be at least 12 characters long and contain at least one upper-case letter, at least one digit, and at least one special character.
When the passwordStrengthRegularExpression attribute is used, you should set an InsecurePasswordMessage in the appSettings element in Web.config so that your users will know what the password requirements are. The default InsecurePasswordMessage is
”The password must be at least <minRequiredPasswordLength> characters long and contain at least <minRequiredNonalphanumericCharacters> special character(s).”
To locate the Web.config file on your Proton server, navigate to
C:\Program Files (x86)\Browsium\Browsium Client Management Server\Server\Sites\Server (or C:\Program Files\ … if you’re using a 32-bit Windows server). You’ll find Web.config in this directory. It can be edited with any text editor, including Notepad. Familiarize yourself with the various sections of Web.config as the entries to control the password configuration outlined earlier in this section are found in various places inside the file.
Once you’ve made your edits to Web.config, save the file. IIS will automatically restart with the web service to immediately apply your new configuration.
If you deploy BCMS across a farm of load-balanced web servers, you’ll need to make the same changes to Web.config on each server to ensure the password policies are enforced consistently. To simplify this process, change Web.config on one server and copy the file to the other servers in your server farm. Note: This guidance assumes all web servers are communicating with a single BCMS database.
Web.config is automatically overwritten when upgrading to a new version of BCMS Server. You’ll need to save a copy of your Web.config file (or keep a separate document with the edits you have made) before upgrading and apply your custom settings to the new file. You should not assume that the old Web.config file will work on the new version of BCMS as other aspects of Web.config may have changed to support new features in BCMS.